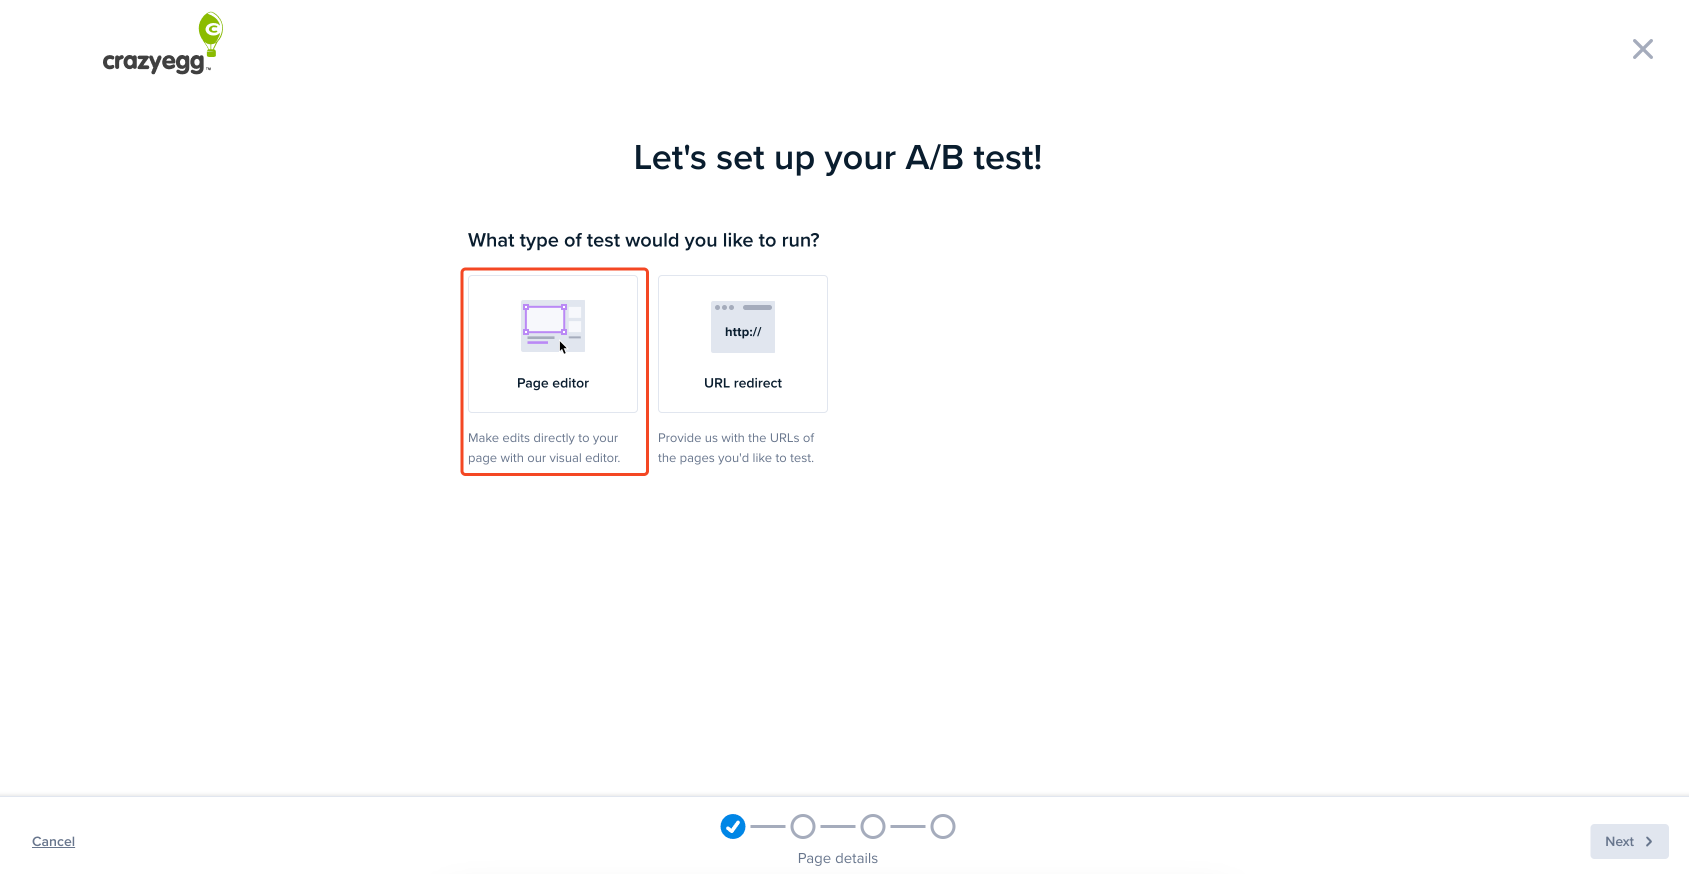
A/B Tests are a great way to pull everything together, using insights from your Snapshot reports and Recordings to test ideas and increase conversions on your site. In this article, you will learn how to test those ideas against new pages you have developed outside Crazy Egg using our Page Editor method.
Creating an A/B Test – Step by Step
Here is a recommended process to help you get started.
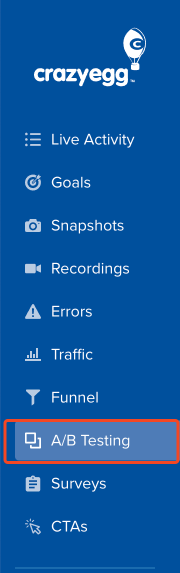
Click on A/B Testing in the left-hand side menu (blue).
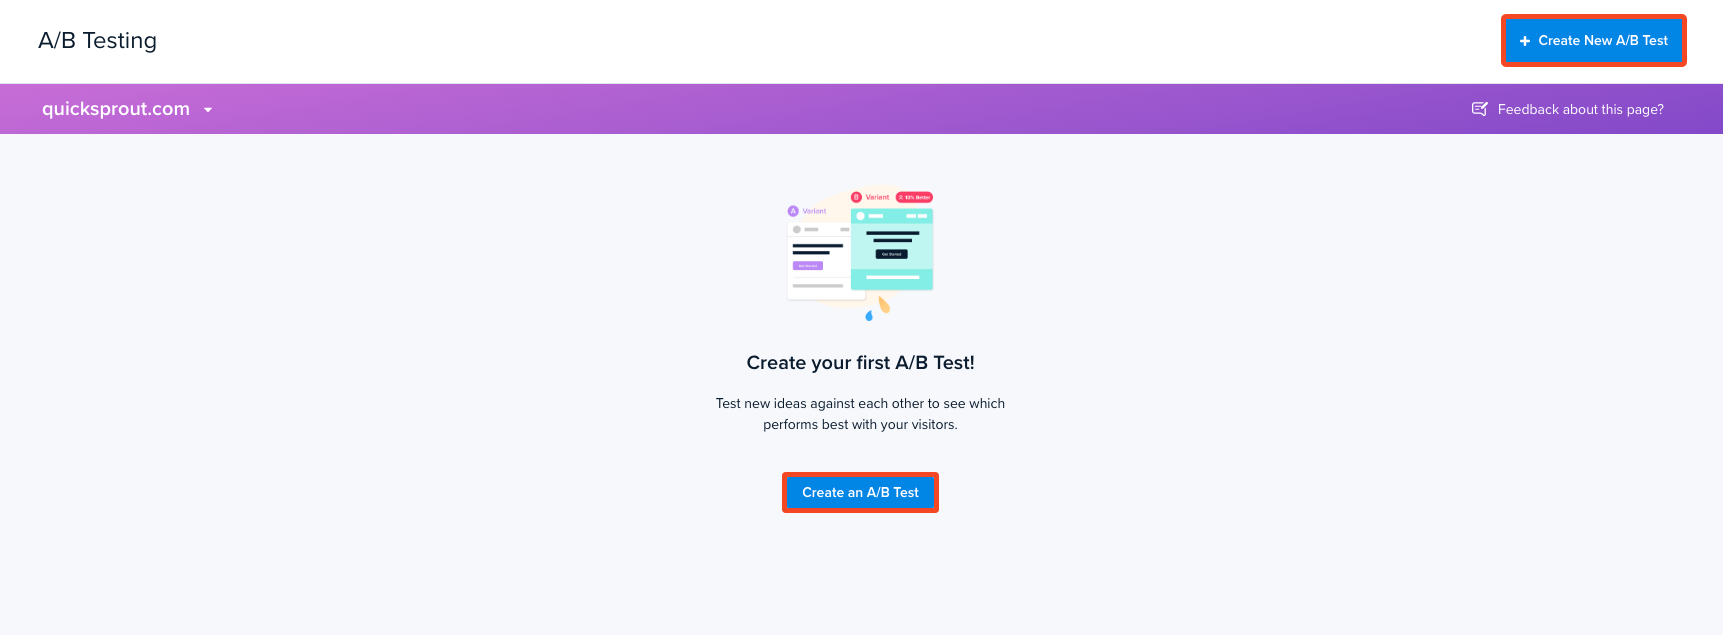
You are now on the A/B Testing Dashboard. From here, click on the + Create New dropdown in the top right-hand corner and choose A/B Test. If this is your first A/B Test, you will see a button in the middle of your screen to Create my first A/B Test.
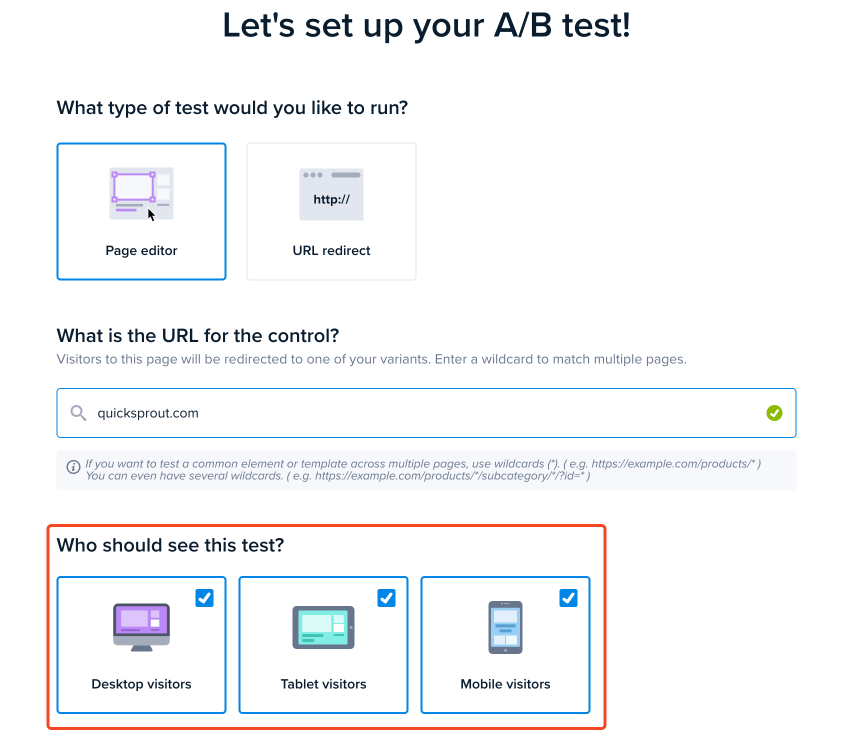
Next, deselect the device types you do NOT want this test to show to. Recommendation: If you are planning to move elements around, I would recommend you do desktop and mobile separately. Unless you know for certain that your mobile site is responsive.
Now click Next.
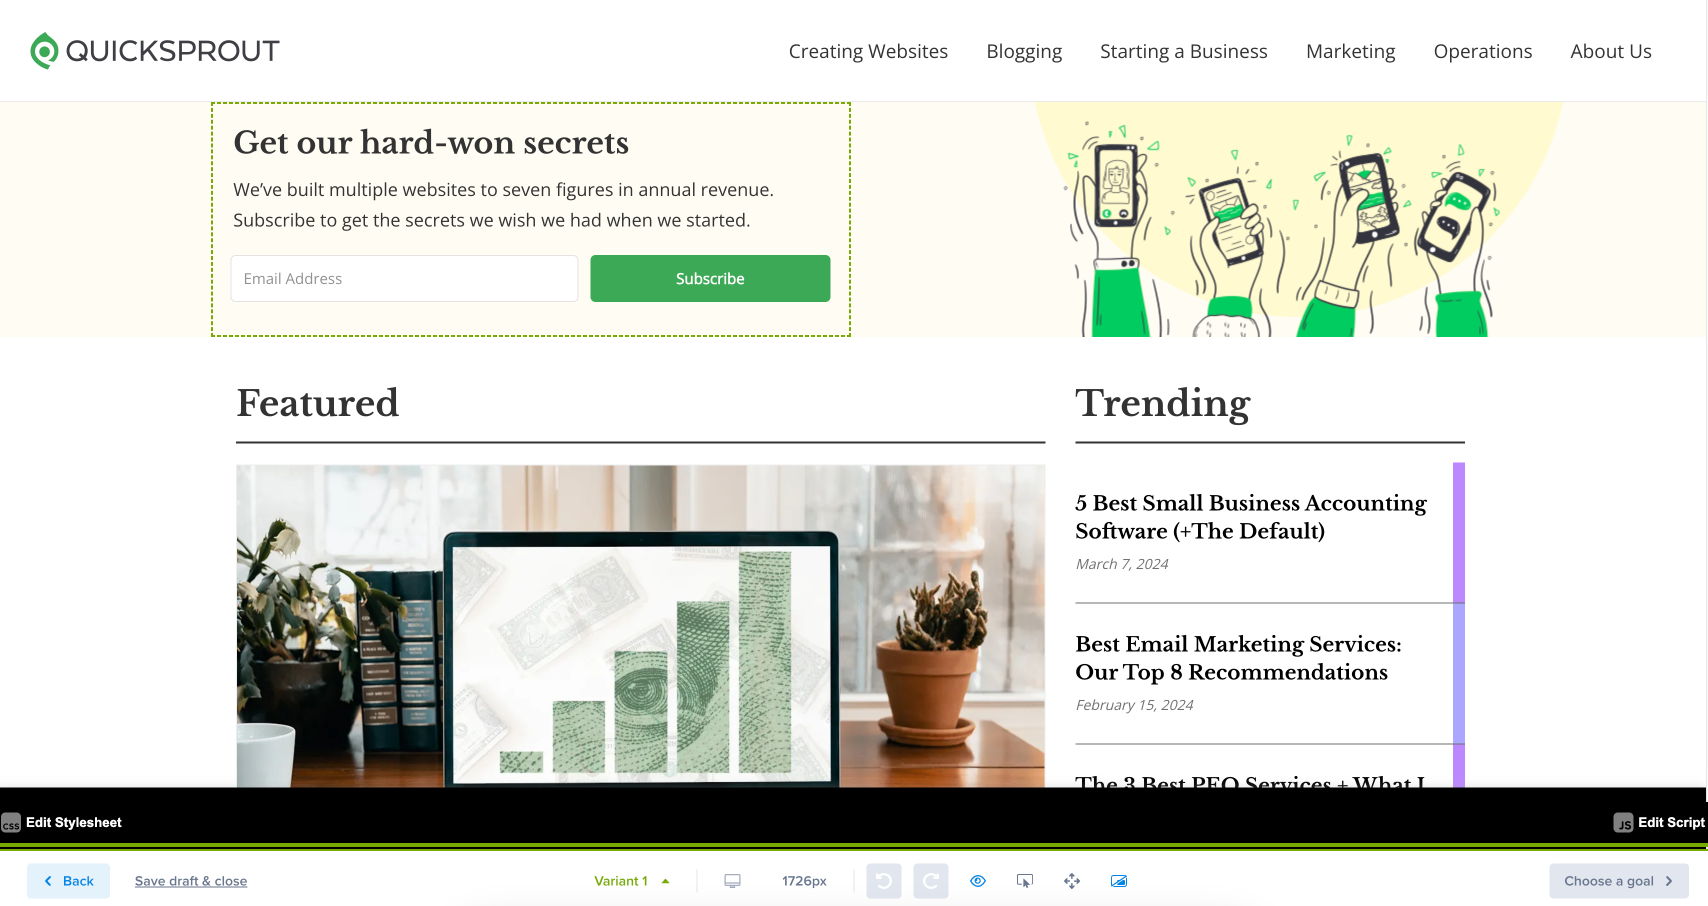
You are now in our Editor! You can make several different changes in the editor. To learn more, read this article in our editor. The Control version is your original page. You can create as many variants as you wish by selecting Create New Variant, by clicking the pick list where it says Variant 1. Our Crazy Egg Experts recommend making one change at a time in your variant. The reason is that you will be able to tell more clearly which change resulted from the conversions. Remember, you can always create a variant that combines the individual changes to see if the combination also increases conversions.
Once you have finished creating your variants, click the Choose A Conversion (Goal) button in the bottom-right corner.
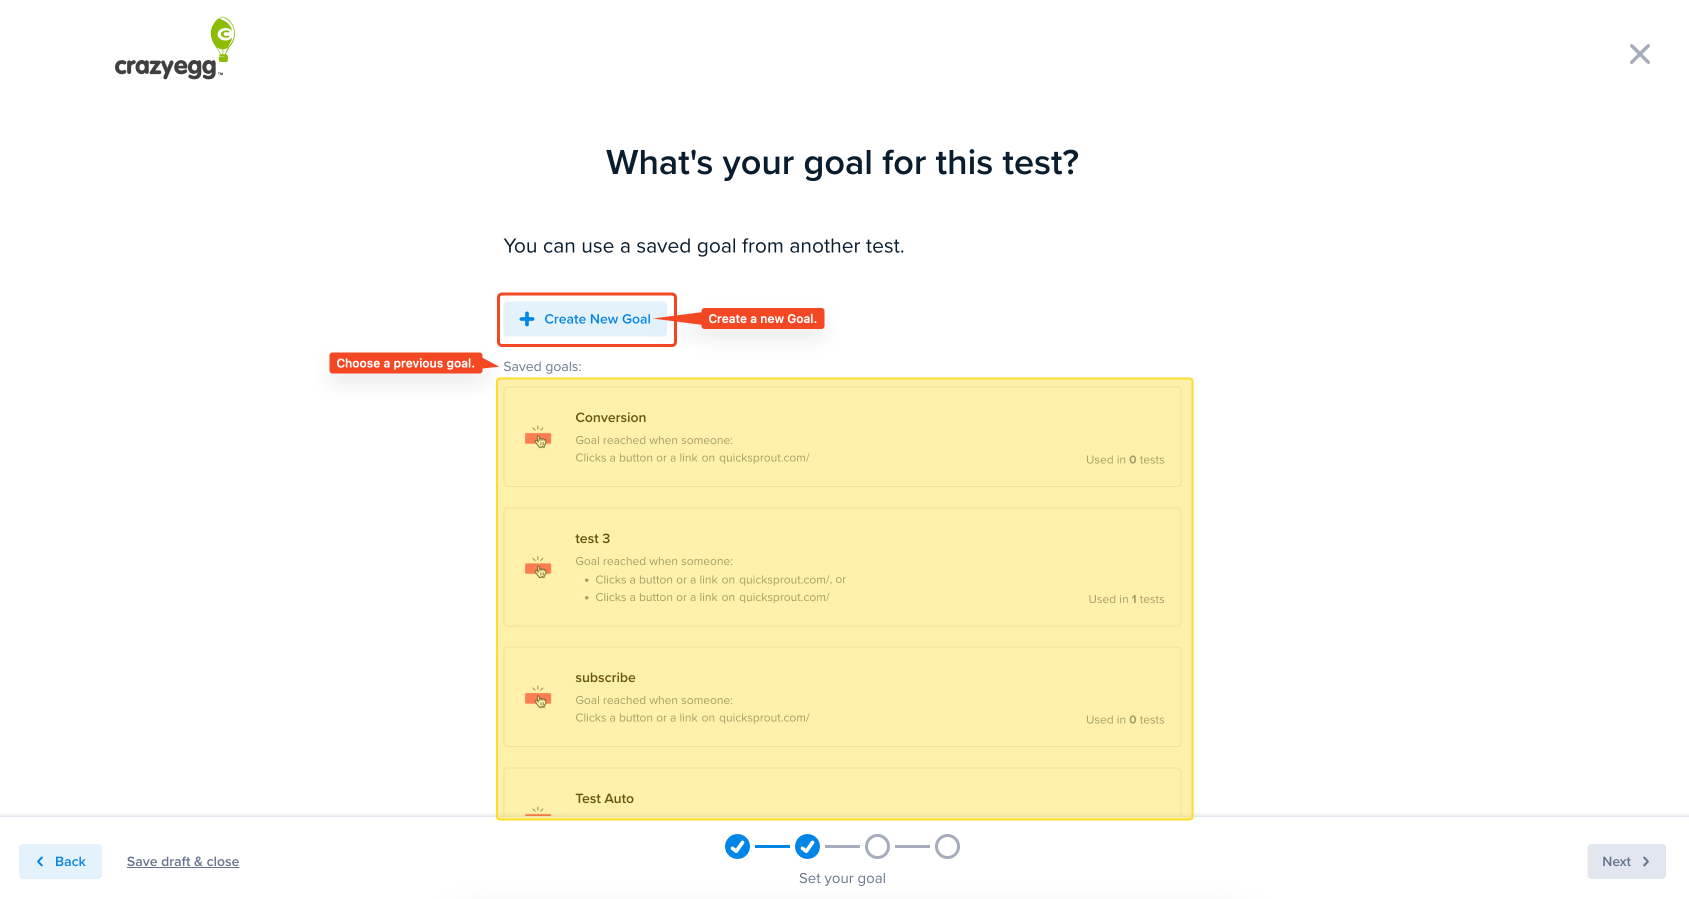
Create your Conversion (Goal). You can create a new one or use an existing conversion (goal).
Click the Next button when you are done.
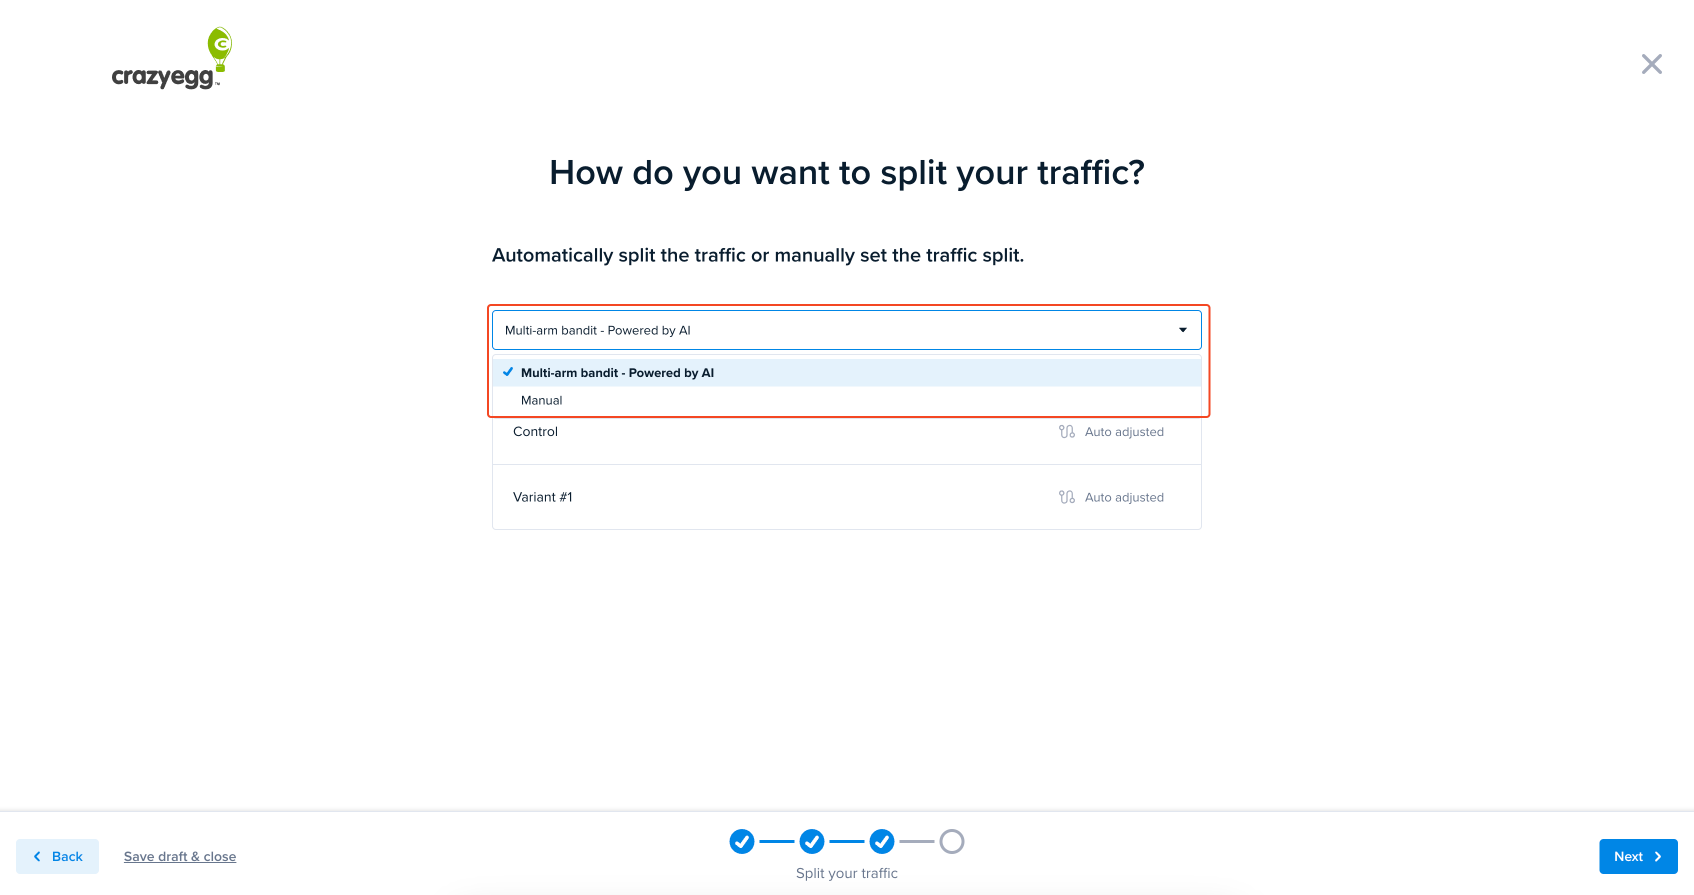
You will now be asked which traffic-split testing method you want to use. Crazy Egg offers two methods. (1) The Multi-Arm Bandit or (2) Classical Split. You have selected your method and configured your traffic split percentage (for Manual – Classical Split). Click the Next button.
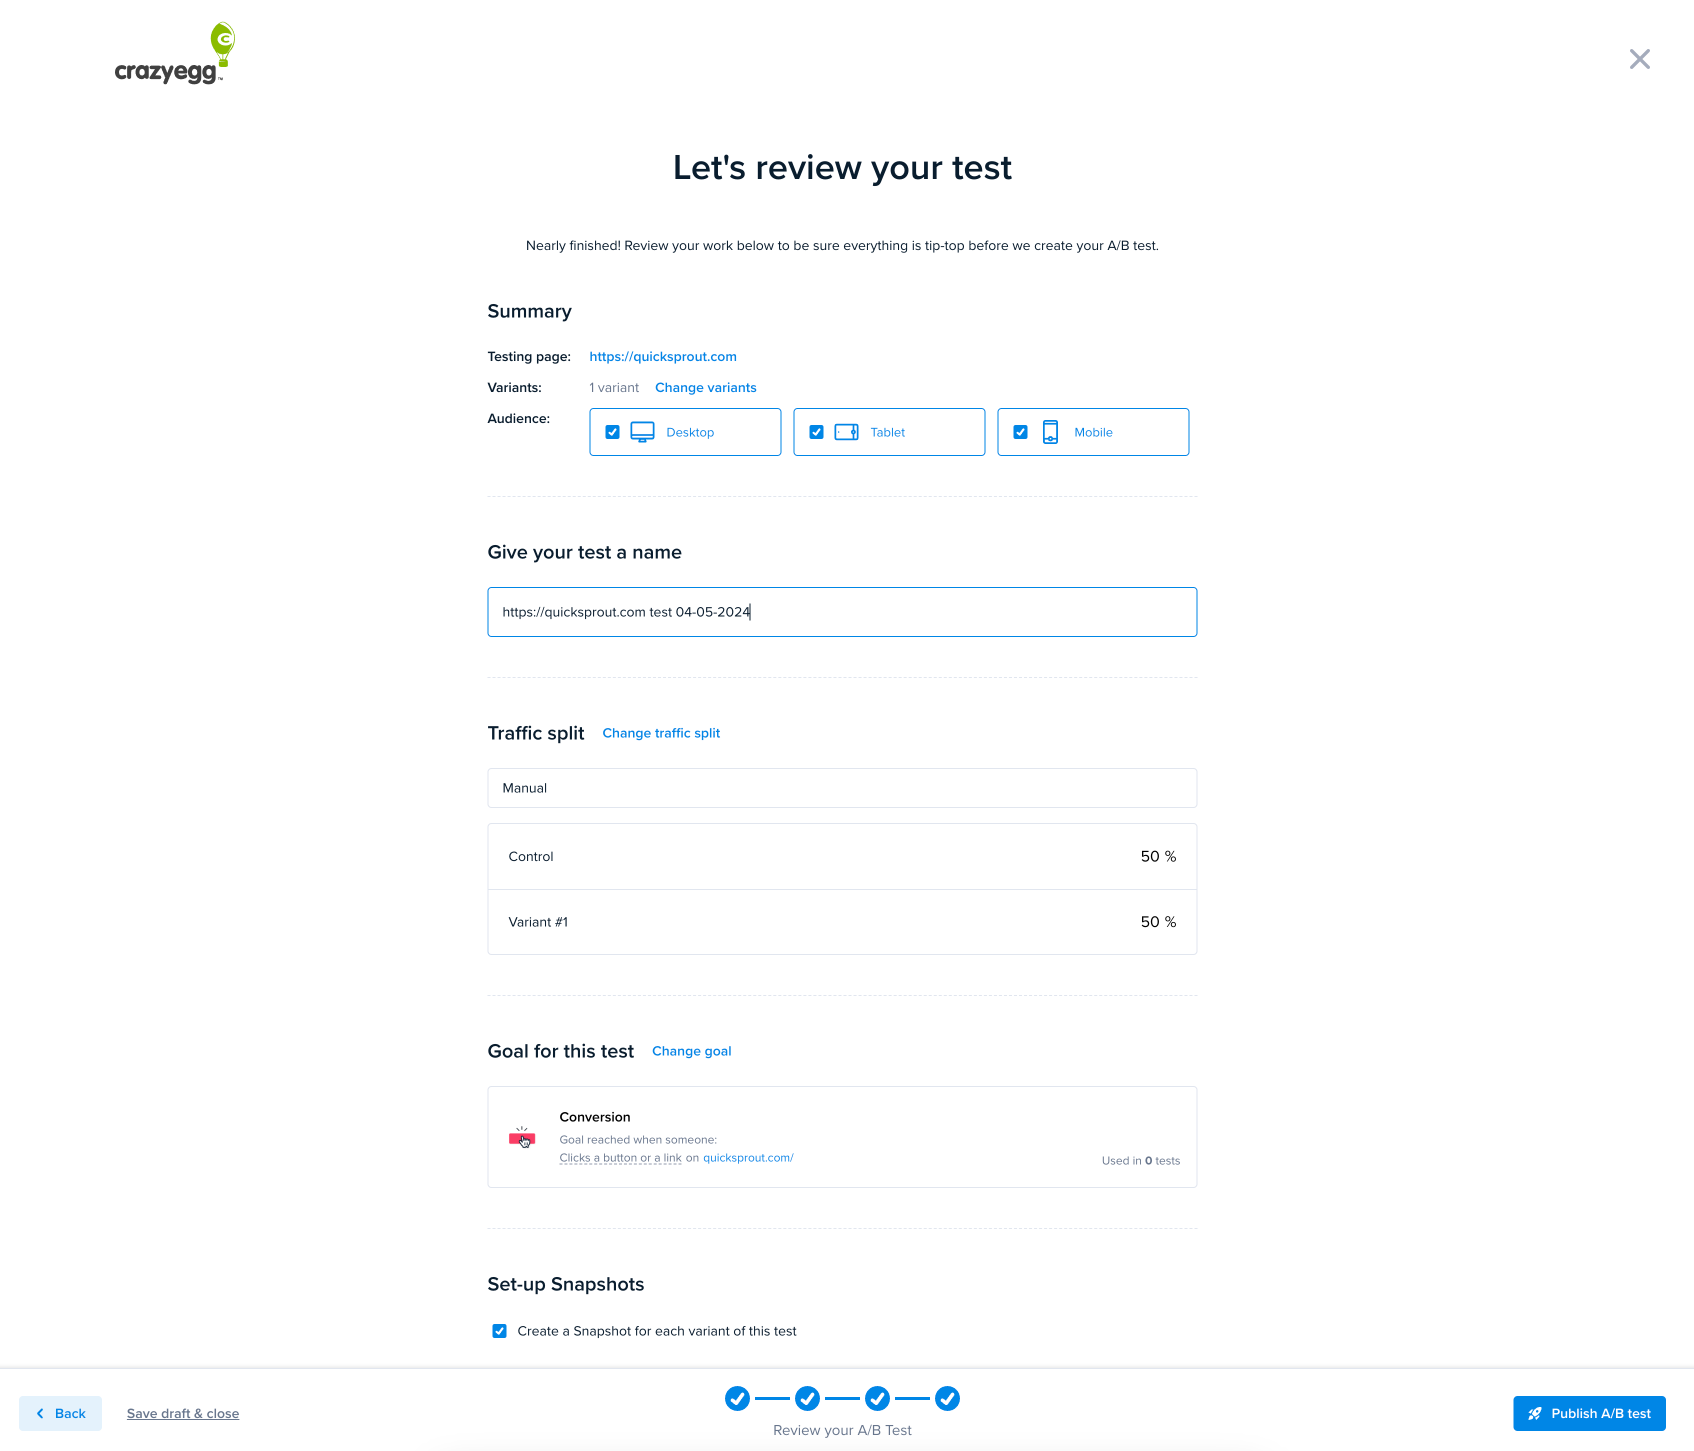
Review your work! Crazy Egg automatically creates Snapshots for your A/B Tests. You can choose not to do this by removing the checkmark. Crazy Egg experts recommend leaving the checkmark. Determining why a test passed or failed is as important as knowing which test won. The Snapshot Reports will tell you this and allow you to compare the variants and controls to learn more information.
Click the Publish A/B test to launch your test. You can also choose to Save draft & Close if you want colleagues to review the work first.
Congratulations! You’ve launched your experiment, and now you’re ready to check out the Results page.