Conversions help you track how effectively your changes drive the desired outcomes, whether it’s increasing conversions, improving user engagement, or achieving other key metrics. You can create these Conversions within and outside an A/B test, aligning your strategy with your objectives and gaining valuable insights into your page’s performance.
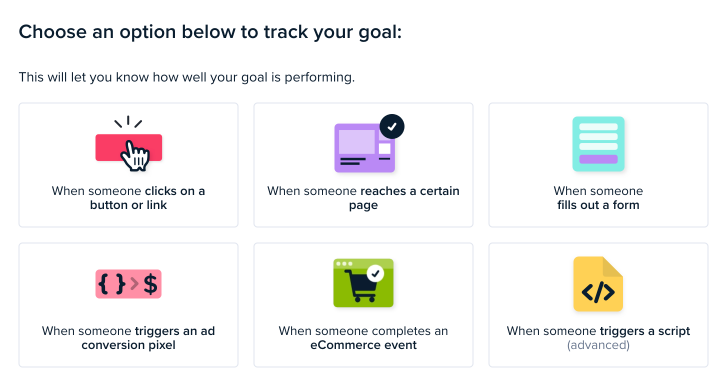
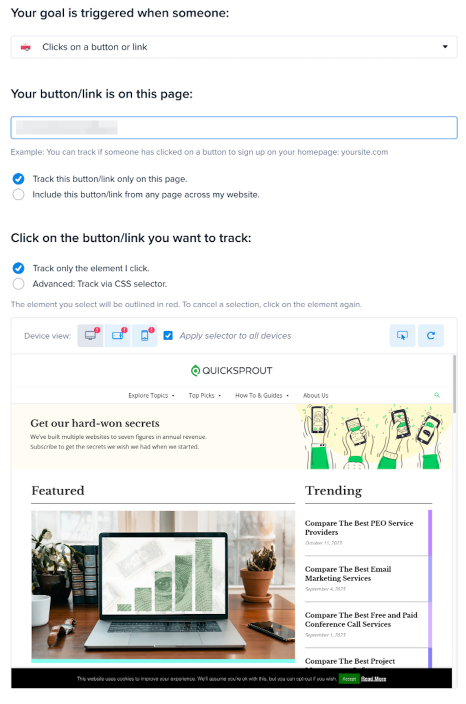
OPTION ONE: When someone clicks on an element (e.g., a button or link)
If you choose this option, you’ll be taken to the following page, where you can specify an element that will be used to determine a winning variant for the test.
In this example, I chose the CTA button.
OPTION TWO: When someone reaches a certain page
If you choose this option, you’ll be taken to the following page, where you can enter the URL of a confirmation page, checkout page, or any page you use to determine a successful conversion. The page will then be pulled up so you can review it before proceeding.
OPTION THREE: When someone submits a form
If you choose this option, you’ll be taken to the next page, where you can specify the URL of the page where the form is located. Then, you will be prompted to select the form.
OPTION FOUR: When someone triggers an AD conversion pixel
If you choose this option, you’ll be taken to the following page, where you can specify the pixel ID and the pixel event you want to listen for.
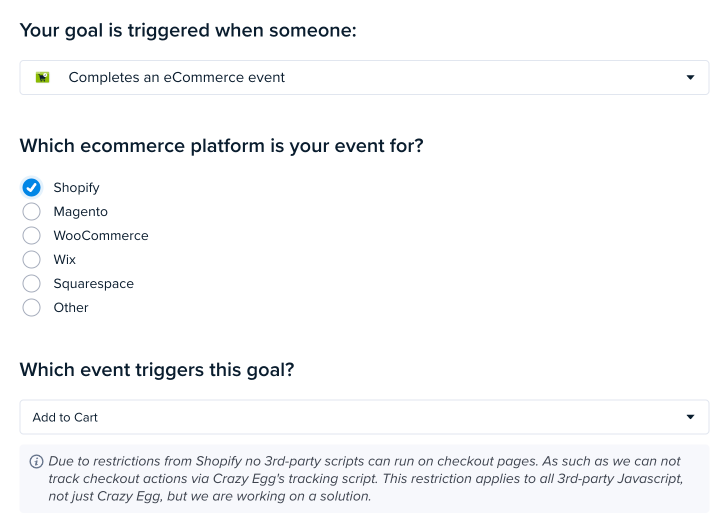
OPTION FIVE: Completes an eCommerce event
If you choose this option, you’ll be taken to a page where you can select from common eCommerce platforms and available events.
OPTION SIX: When someone triggers a script (advanced)
The final option is for developers and the more technically advanced. It requires your developers to write code that will trigger this unique script provided to you when selecting this option. Your developers will write the code that captures the events you want to trigger before this script runs, indicating that a conversion took place.