Folders are a great way to organize your Heatmaps, A/B tests, and Edits. Folders allow you to group content by that domain (site) and then another group within that domain (site).
The steps outlined below are the same for Heatmaps, A/B tests, and Edits. You would need to set up folders under each feature dashboard separately.
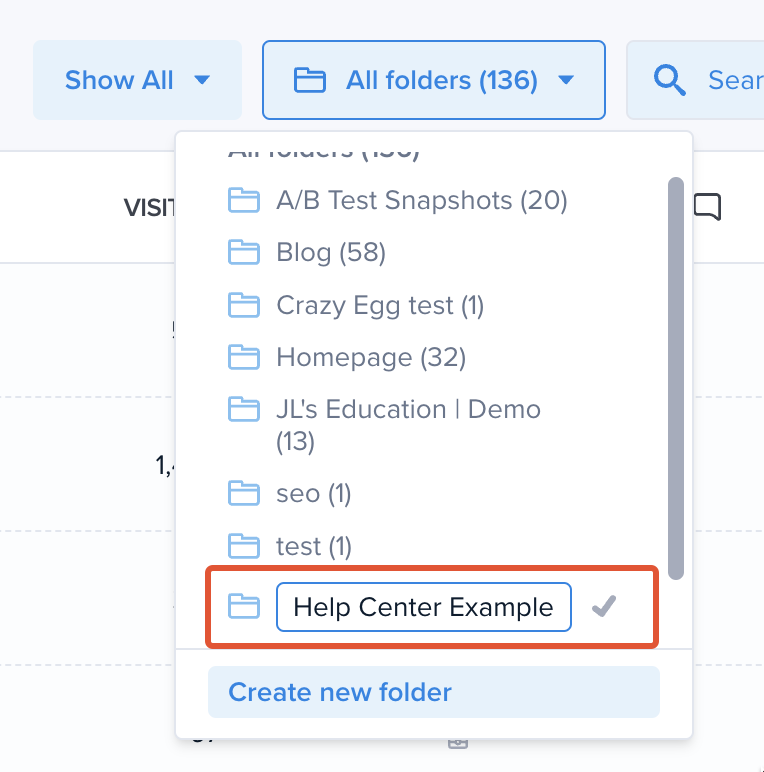
Create a Folder – Step by Step
Here is a recommended process to help you get started.
In the example below, we’ll create a folder in the Heatmaps dashboard. The process is the same for A/B tests and Edits. You will need to be on the appropriate feature dashboard.
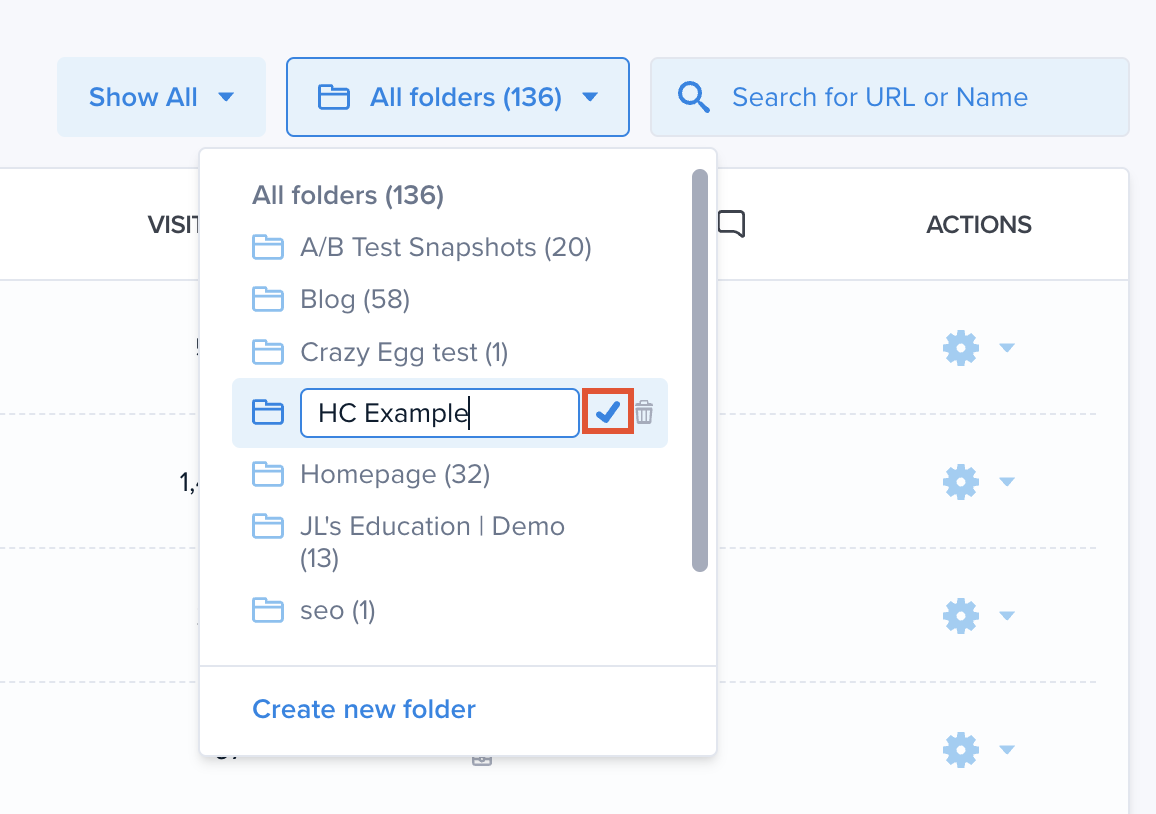
Editing the Name of the Folder – Step by Step
Here is a recommended process to help you get started.
In the example below, we’ll see how to edit a folder’s name in the Heatmaps Dashboard. The process is the same for A/B tests and Edits. You will need to be on the appropriate feature dashboard.
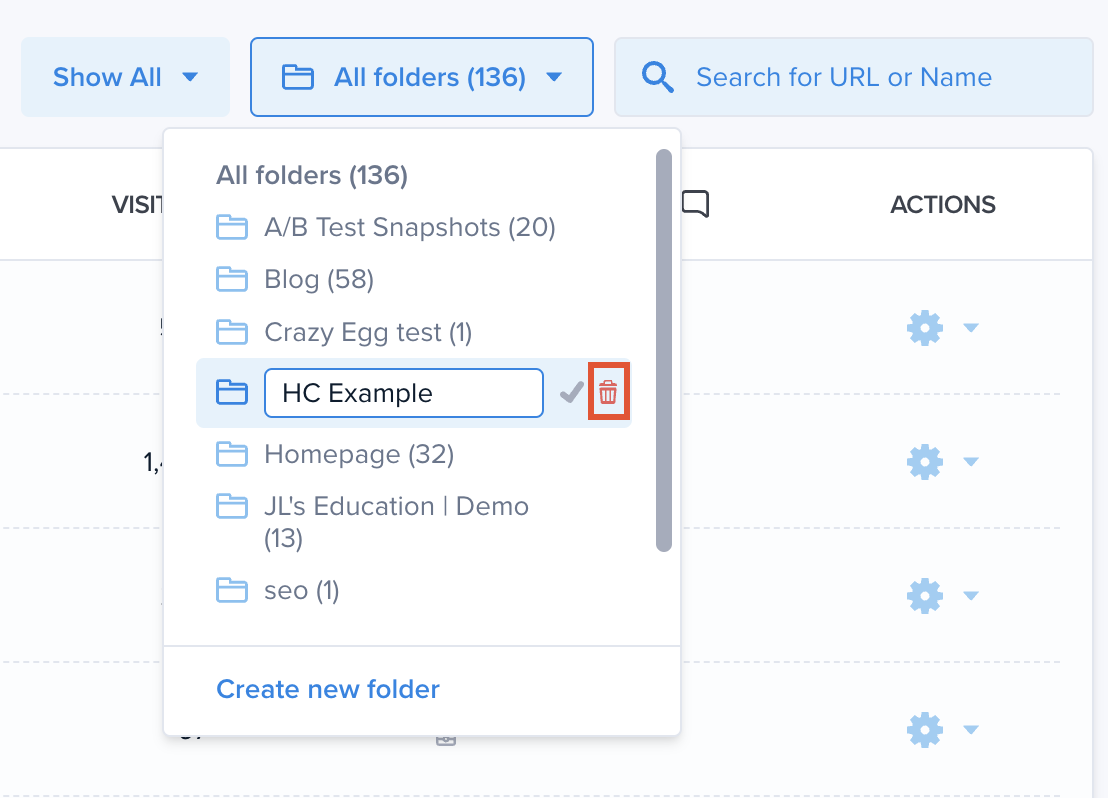
Deleting a Folder – Step by Step
Here is a recommended process to help you get started.
In the example below, we’ll show how to delete a folder in the Heatmaps dashboard. The process is the same for A/B tests and Edits. You will need to be on the appropriate feature dashboard.
Moving Items Into the Folder – Step by Step
Here is a recommended process to help you get started.
In the example below, we’ll look at how to organize Heatmaps into two different Folders. The process is the same for A/B tests and Edits. You will need to be on the appropriate feature dashboard.