Connecting Crazy Egg with Google Tag Manager is quick, easy, and doesn’t require coding.
Google Tag Manager (GTM) is a free tag management system (TMS) that allows you to quickly and easily update measurement codes and related code fragments collectively known as tags on your website or mobile app. Once the small segment of the Tag Manager code has been added to your site, you can safely and quickly deploy analytics and measurement tag configurations from a web-based user interface.

Step by Step Instructions
I’ve included here a recommended process to help you get started.
- Step 1
-
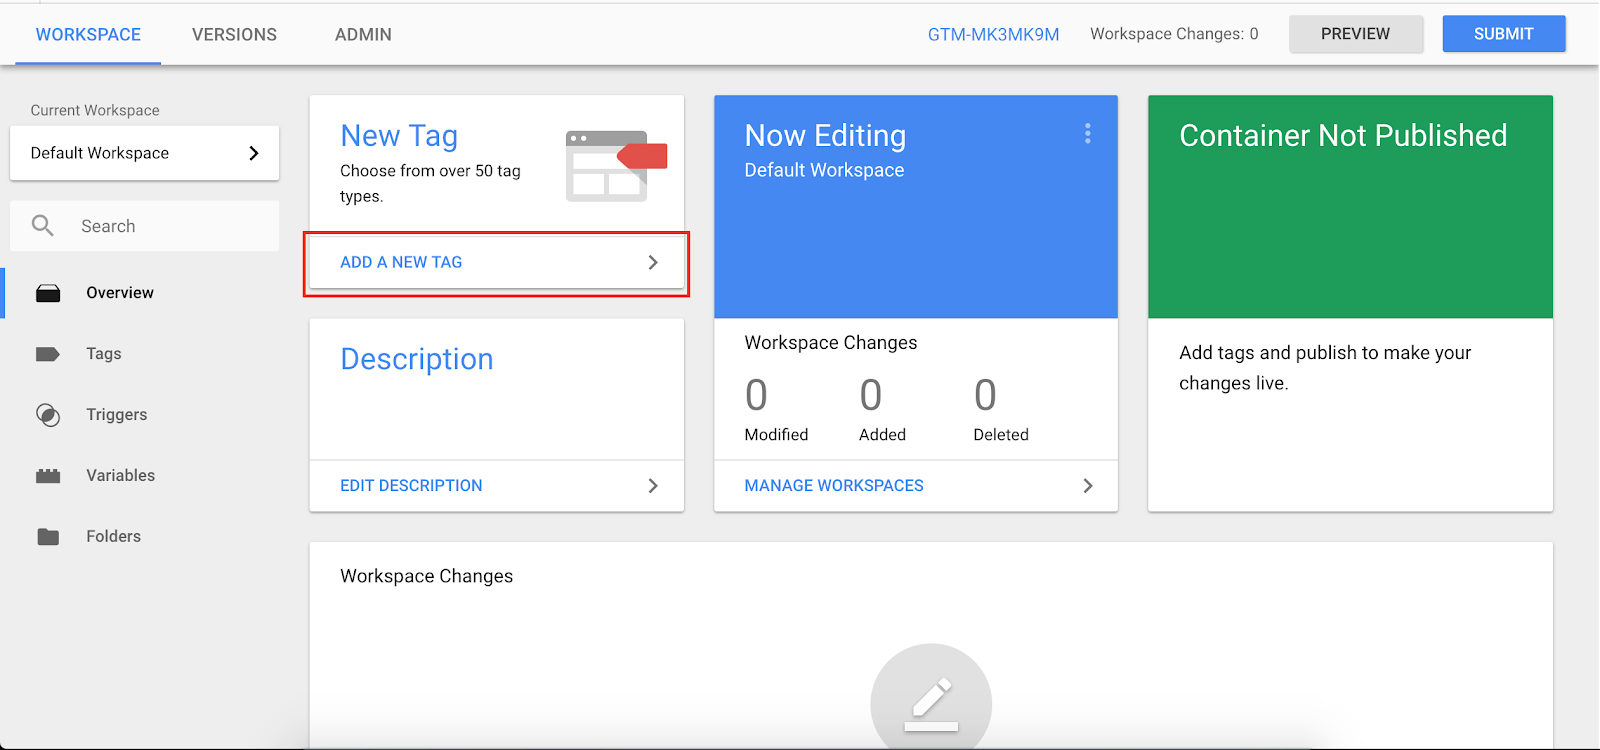
Login into your Google Tag Manager (GTM) account. Click on Add a New Tag.
- Step 2
-
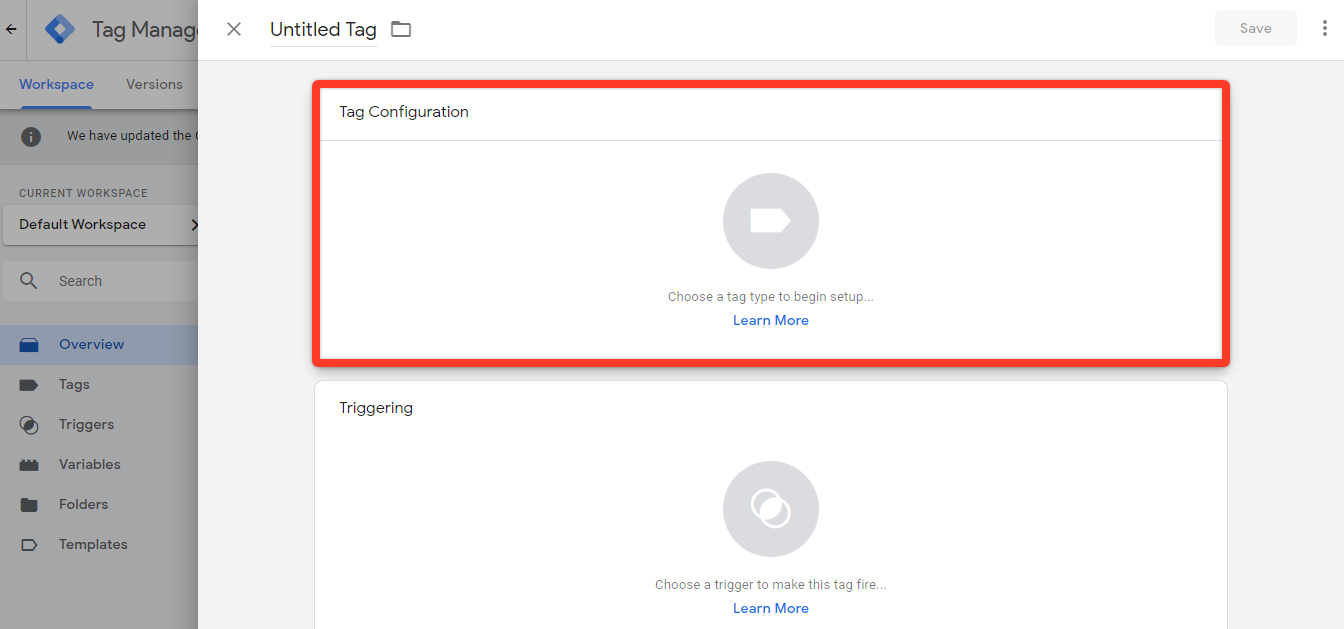
Click anywhere in the Tag Configuration section. Or, click on the pencil icon (it appears when you hover over this section).
- Step 3
-
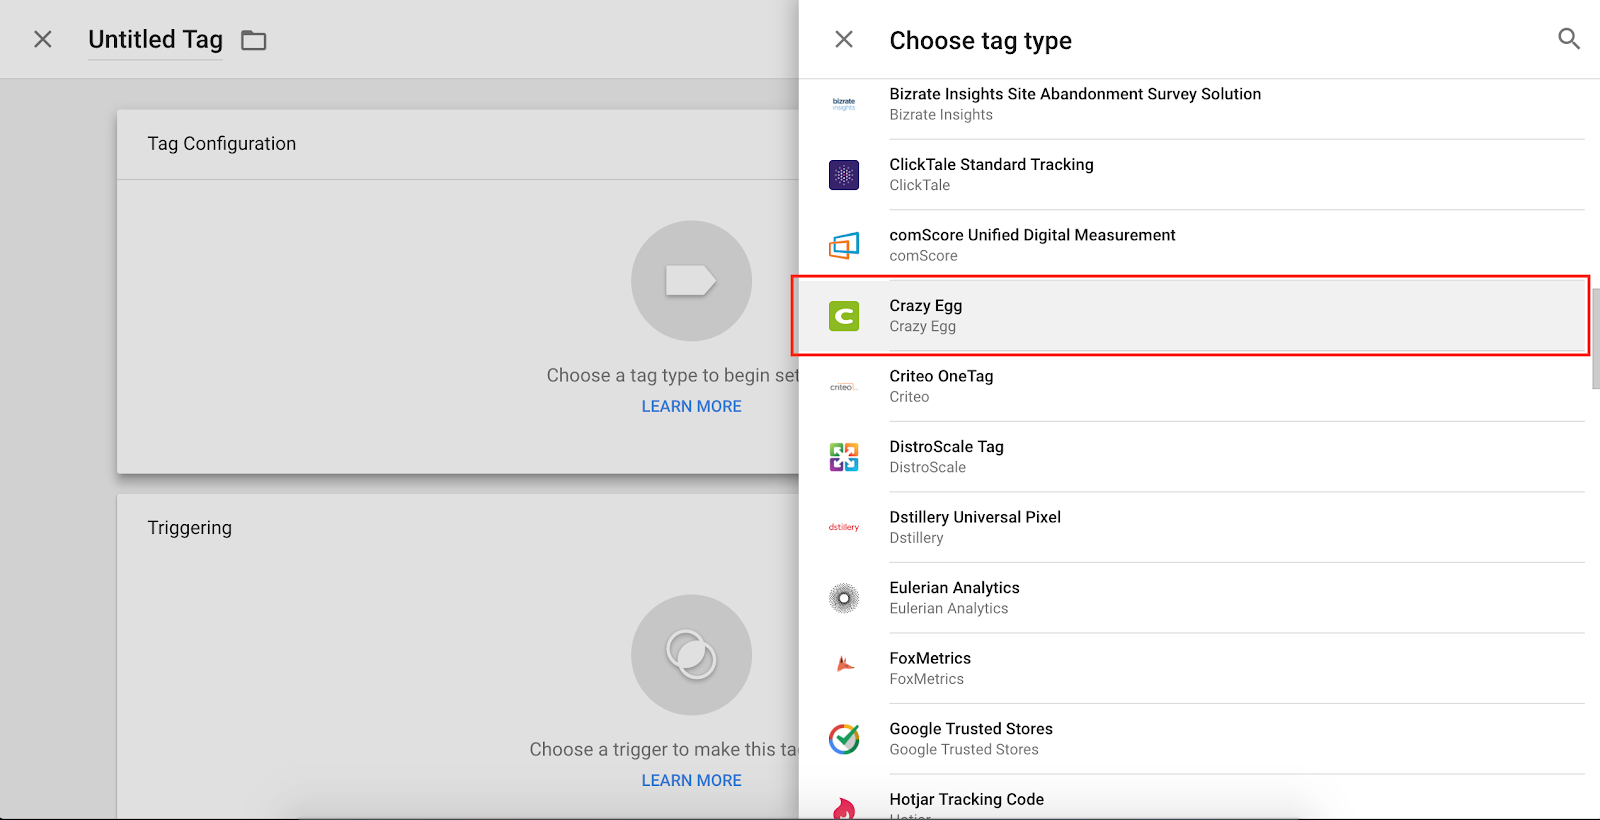
Scroll down the list and choose Crazy Egg.
- Step 4
-
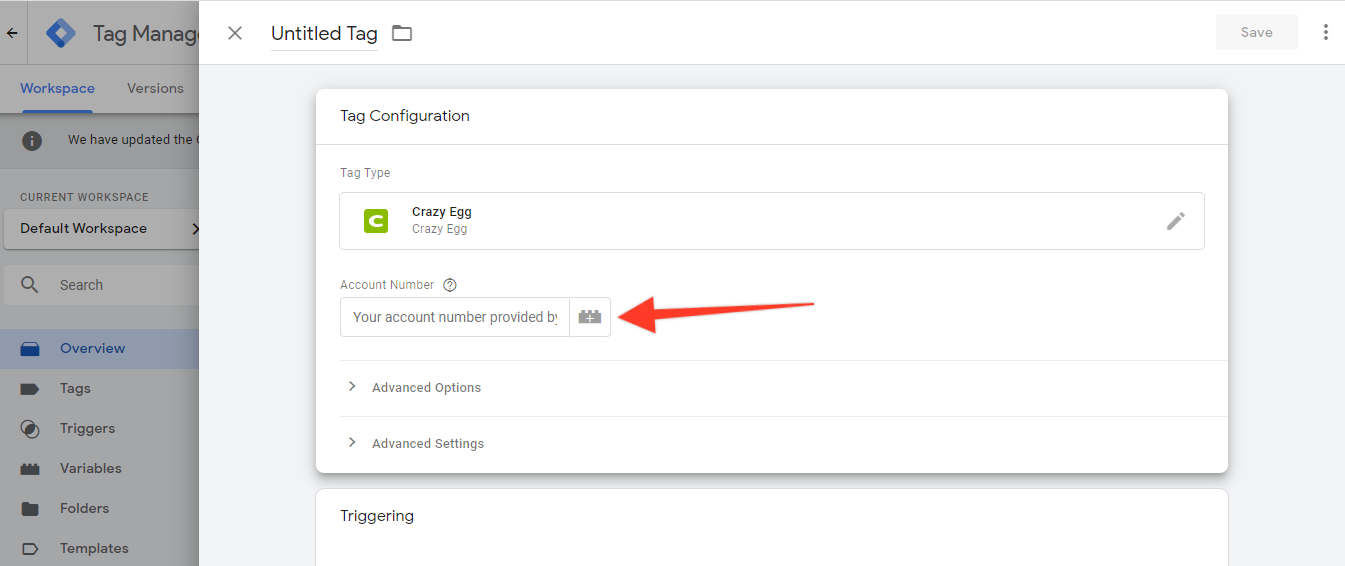
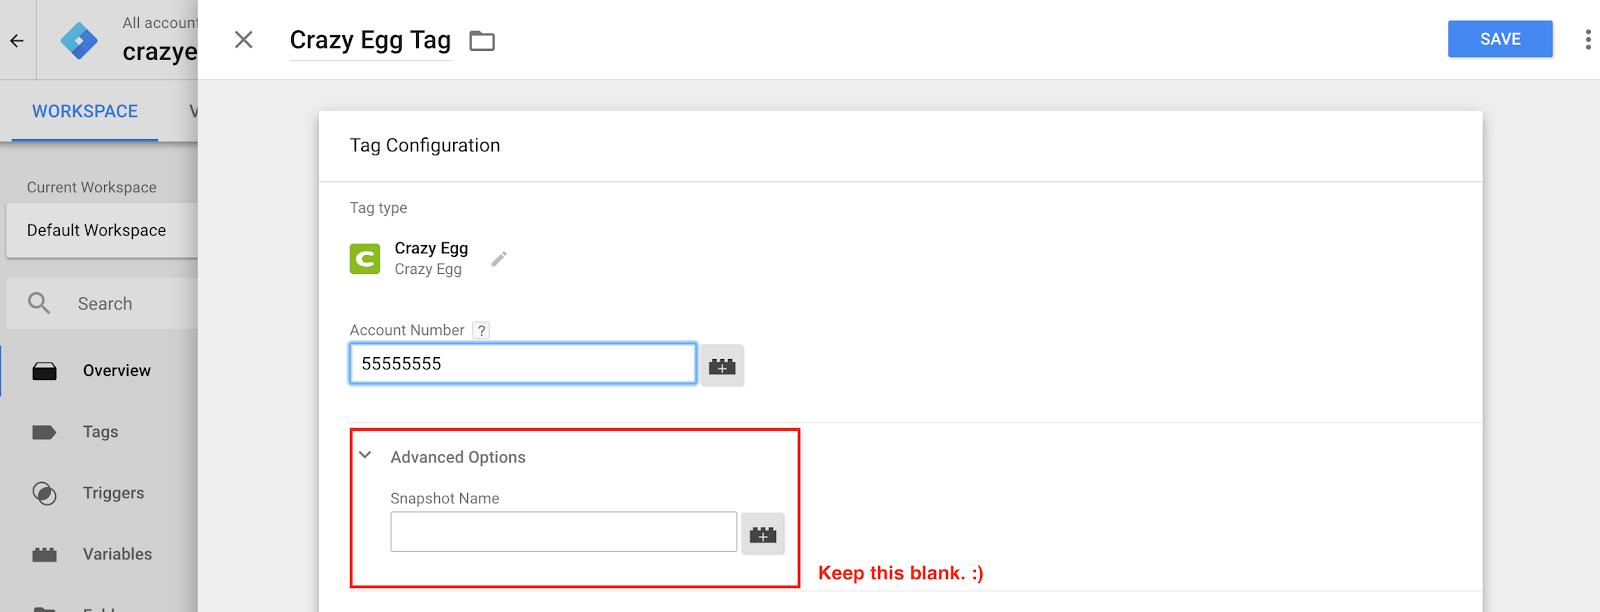
You will need your Crazy Egg Account number. You can obtain that here and add it to your GTM under Account Number (see screenshot below). Click off of the Tag Configuration area to save the setting.
- Step 5
-
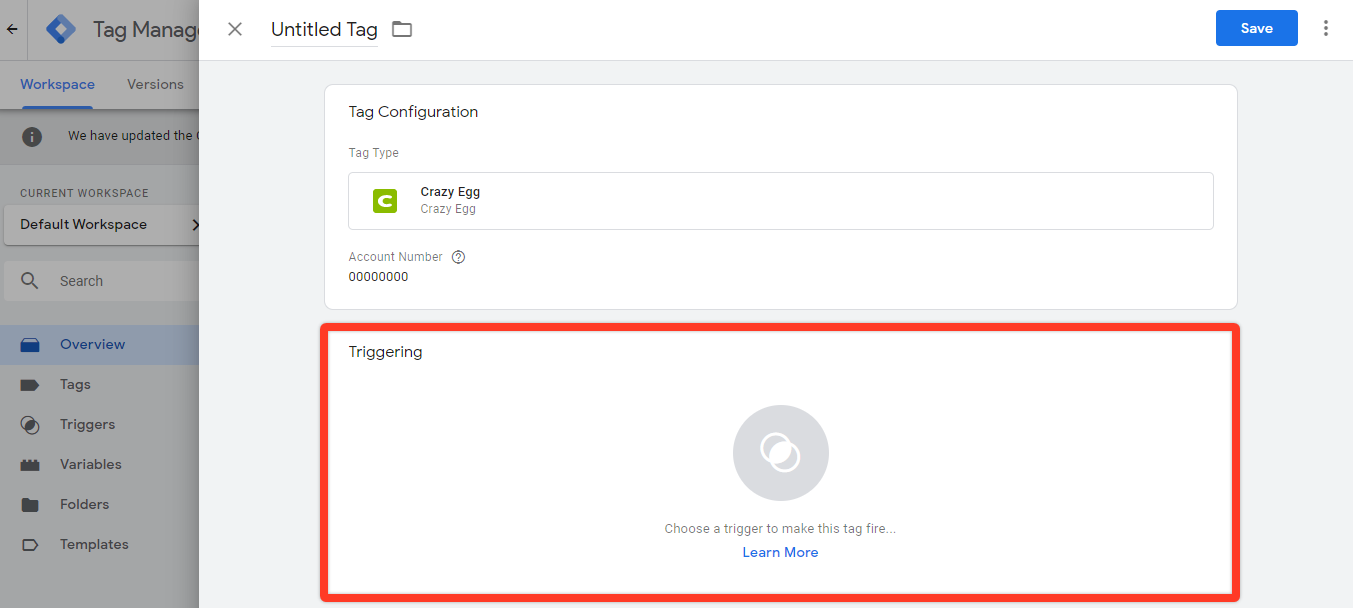
Click anywhere in the Triggering section. Or, click on the pencil icon (it appears when you hover over this section).
- Step 6
-
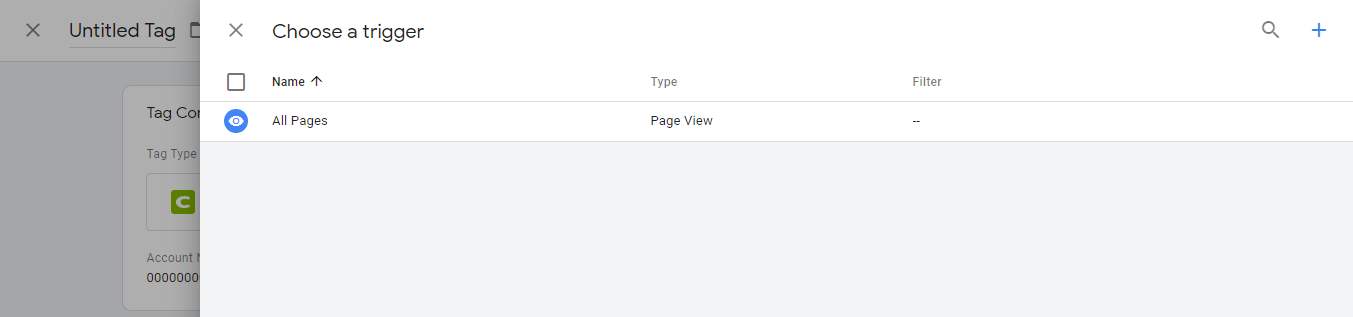
By default, the tag is set to trigger for all pages. This is the ideal setting for a basic installation of Crazy Egg via GTM. Click on the eye icon to select this option.
- Step 7
-
Click the Add button located in the top right-hand corner.

- Step 8
-
Click the Save button located in the top right-hand corner. Once you do, you will be prompted with the window below. Name the tag Crazy Egg. Click on the Save button.

- Step 9
-
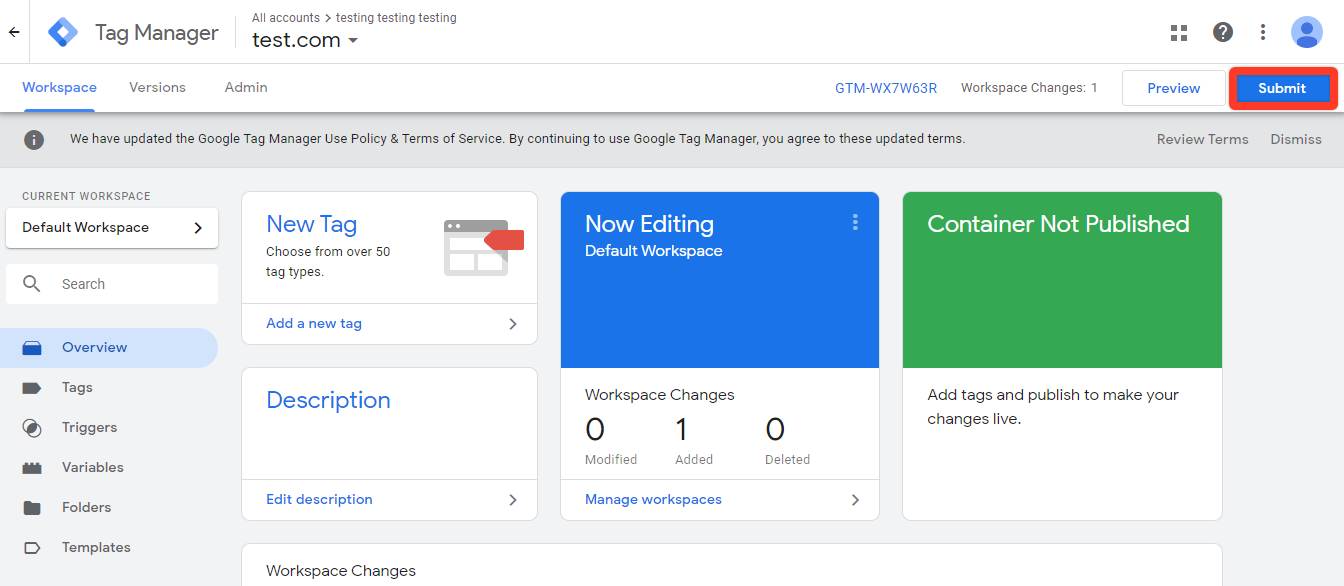
Click on the Submit button located in the top right-hand corner.
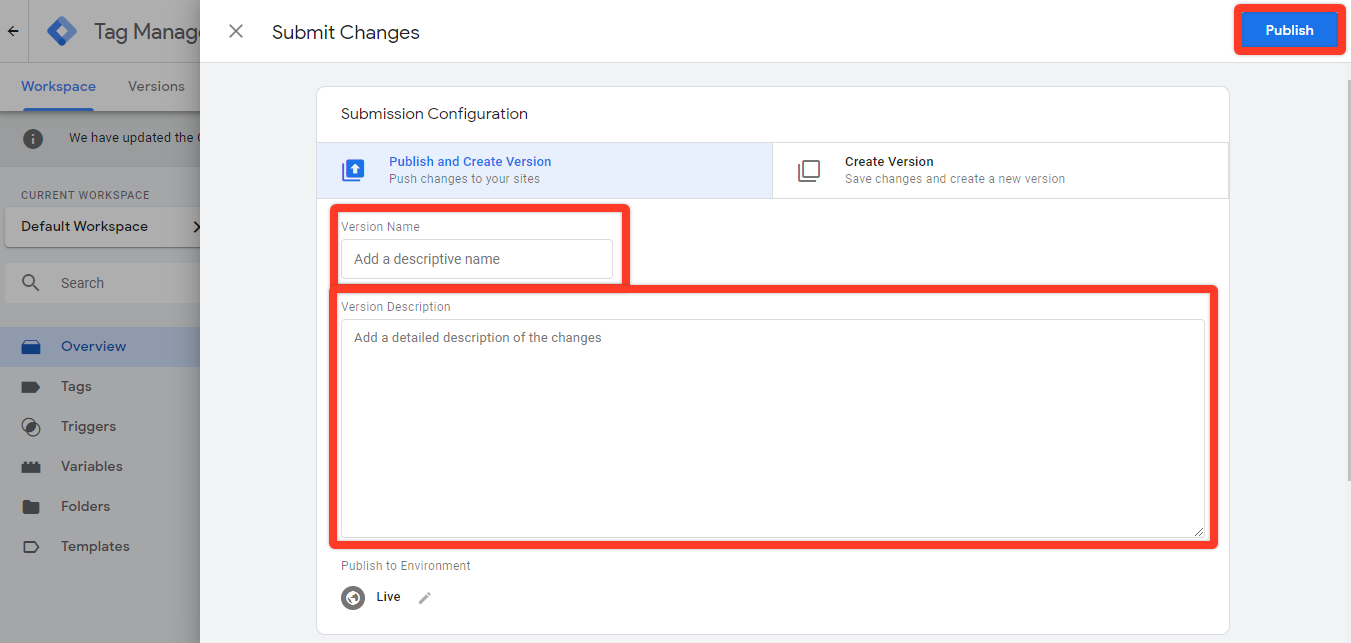
- Step 10
-
Fill in the Version Name and Version Description fields. Then, click on the Publish button located in the top-right corner.
Congratulations, you have configured the Crazy Egg tag!
Troubleshooting
Ensure you see this:
and not this:
If you are seeing the second image, you do not have full publishing rights. Contact your GTM account administrator.
Verify that the GTM container you installed on your site matches the one you created the tag for. Open your developer tools and search for the GTM container number in the Elements tab. This will take you (if found) to the GTM-XXXXX. Compare this to your GTM account.